새로운 Item -> "Enter an item name" 프로젝트 이름작성, "Freestyle Project" 선택 후 OK
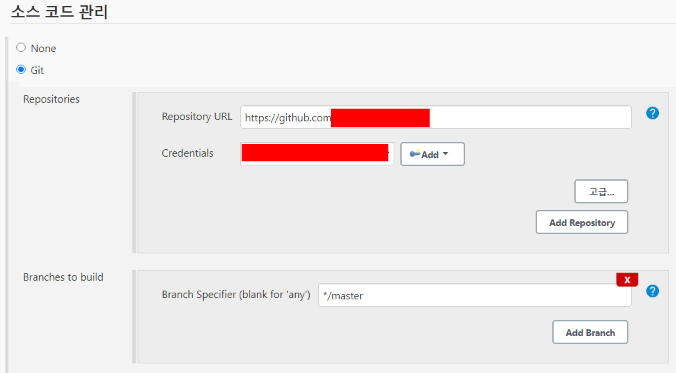
Git 서버 설정
소스 코드 관리에 "Git"선택
Repository URL에 자신의 Git 주소를 적는다.
Credentials는 "Add"를 눌러서 자신의 레포에 해당하는 아이디와 비밀번호를 적는다.
Git > Repositories > Add
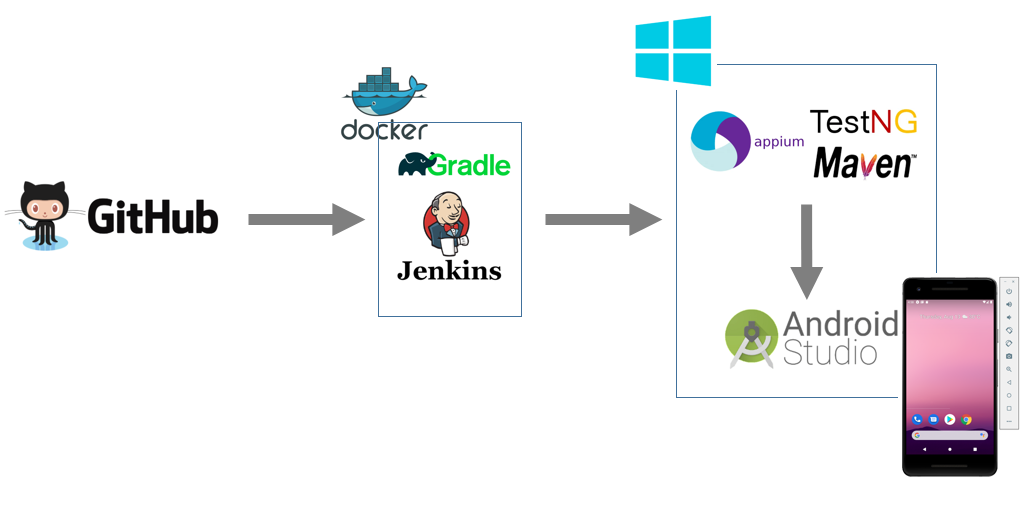
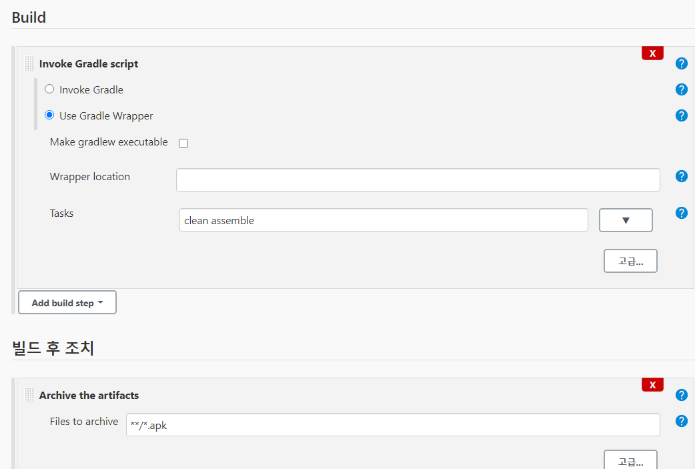
Build, Build 후 조치 설정
"Add build step"을 눌러서 "Invoke Gradle script"를 선택
"Use Gradle Wrapper" 선택 후 Tasks에 "clean assemble" 작성
"빌드 후 조치 추가"를 눌러서 "Archive the artifacts"를 선택
Files to archive에 "*/.apk" 작성
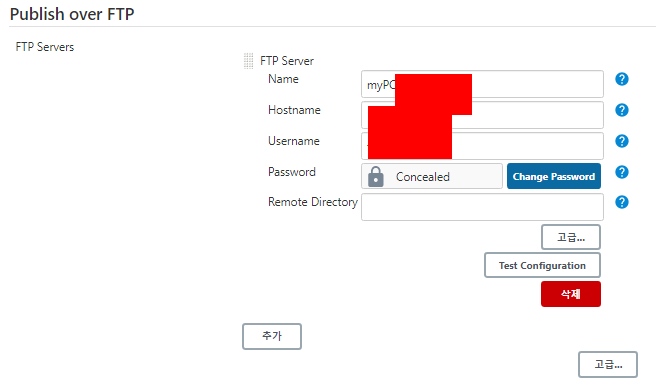
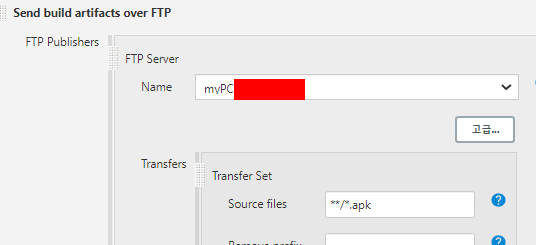
Publish Over FTP 또는 Publish Over SSH Plugin을 이용하여 빌드된 apk 파일 전송(사전 설치 필요)
Jenkins > 환경설정
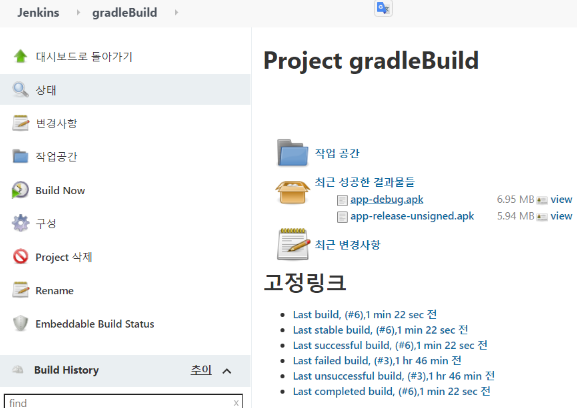
빌드가 잘되는지 테스트해보자!
아래의 "실행" 버튼을 누르면 빌드가 진행되고 아래의 경로에 apk 파일 생성 확인
[삽질의 흔적들]
1. SDK 라이센스 오류 관련
일부 안드로이드 라이센스 관련해서 오류가 나서 빌드가 실패 할 수도 있다
[젠킨스 오류 전문]
Could not determine the dependencies of task ':app:compileReleaseJavaWithJavac'.
> Failed to install the following Android SDK packages as some licences have not been accepted.
     build-tools;29.0.2 Android SDK Build-Tools 29.0.2
  To build this project, accept the SDK license agreements and install the missing components using the Android Studio SDK Manager.
  Alternatively, to transfer the license agreements from one workstation to another, see http://d.android.com/r/studio-ui/export-licenses.html

  Using Android SDK: /opt/android-sdk-linux
[해결]
젠킨스 컨테이너 접속하여 아래 명려어 실행하여 라이센스 관련 조치하자
yes | sdkmanager --licenses
[참고]
추가적으로 아래와 같이 Webhook을 설정해주면 깃허브에서 push되면 자동으로 빌드하도록 구성 할 수있음